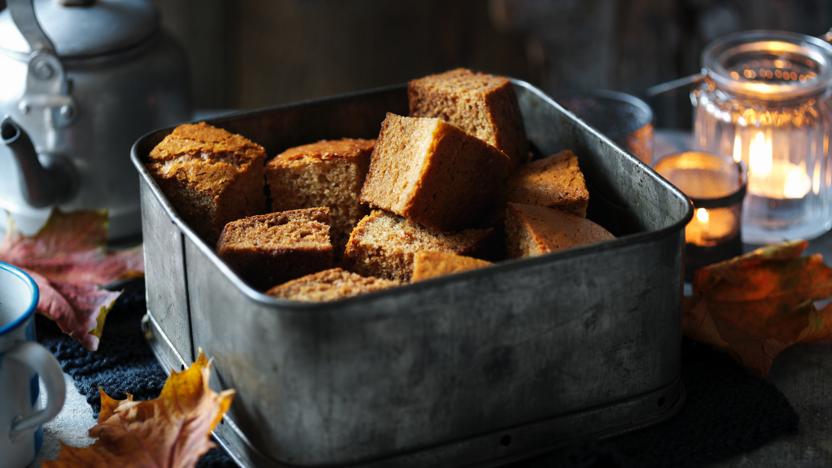
Gingerbread garage
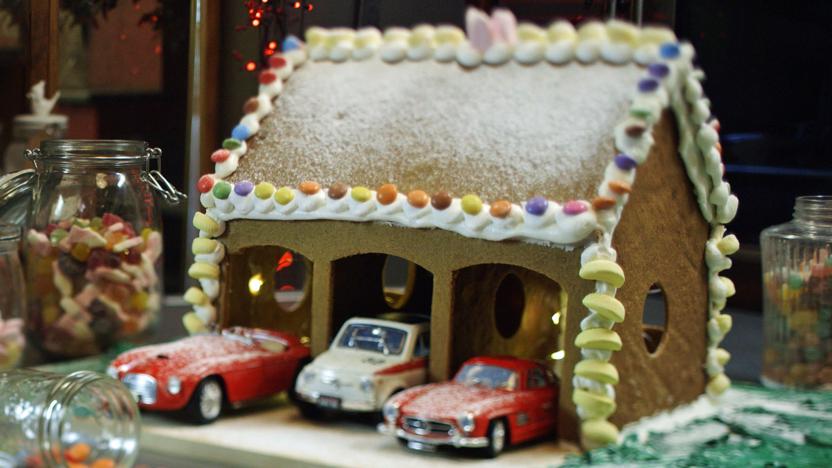

This customised gingerbread garage is the perfect Christmas gift for cake lovers and petrolheads alike.
For this recipe, a large freestanding food mixer would be ideal. You will also need some cardboard to make templates for the garage shape and a piping bag.
Ingredients
For the gingerbread
- 800g/1lb 12oz soft light brown sugar
- 800g/1lb 12oz butter, softened
- 4 tbsp treacle
- 400g/14oz golden syrup
- 4 tbsp ground ginger
- 8 tsp ground mixed spice
- 2 tsp ground cloves
- 1 tsp bicarbonate of soda
- 2kg/4lb 8oz plain flour, plus extra for dusting
- 4-6 tbsp cold water
For the icing
- 2kg/4lb 8oz icing sugar
- 9 free-range egg whites
To decorate
- 3 toy cars
- selection of brightly coloured chocolate and jelly sweets
- selection of milk and white chocolate buttons
Method
For the gingerbread, beat the sugar and butter together using a free-standing food mixer until pale, fluffy and well combined.
Add the treacle, golden syrup, ground ginger, mixed spice, ground cloves, bicarb of soda and flour. Beat slowly at first, then quickly until it comes together as a stiff dough. Add a little of the water and continue beating to bring the dough together.
Turn out the dough onto a lightly floured work surface and knead gently for a couple of minutes until soft and smooth. Set aside in a bowl, covered, to rest.
Meanwhile, cut templates for the garage from pieces of card: one for the gables that is 20cm/8in(width)x14cm/5陆in(height) with a 25cm/10in high triangle on top; one for the back that is 30cm/12in(width)x14陆cm/6in(height) and one for the front that is 30cm/12in(width) x 14陆cm/6in(height) with 3 equal-sized arches cut into it to resemble doors.
Preheat the oven to 180C/160C Fan/Gas 4.
Divide the dough into 3 manageable-sized pieces. Roll each piece out onto a piece of silicone baking paper to a thickness of 3mm. Using the templates, cut out 4 gable shapes, 2 roof shapes, 1 back shape and 1 front shape. Transfer each shape, on its silicone paper, to a baking sheet. Bake, in batches if necessary, for 15-18 minutes, or until just starting to colour at the edges. Remove and set aside to cool slightly before trimming the edges so that they are straight. Set aside on a wire rack to cool completely.
For the icing, place the icing sugar into the bowl of a food mixer; cover if possible. Whisk in the egg whites and beat until very smooth and thick enough to hold its own shape. This process should take 7-10 minutes. Spoon some of the mixture into a piping bag and set aside. Reserve the remaining icing.
To assemble the garage, lay all of the shapes out next to each other. Stick the pieces together one by one by piping a line of icing along the edges of the sides you are ready to stick, then standing them on a stiff piece of board (or a presentation board) and pressing them together, holding in place until set (or use small tins of food to hold the pieces upright while they set). You need to ice the pieces as you need them, not all at once.
Start by sticking one gable to each side of the back of the garage, with two at intervals along the back wall of the garage (avoiding the spaces where the doors will go). Stick the front of the garage onto the other side of the gables.
Ice all 4 edges of one piece of the roof and press gently on top of the gables to cover the back half of the garage. Repeat with the remaining roof shape, pressing it onto the front of the garage.
Leave the garage to set for 30 minutes, then decorate with the remaining icing and the coloured sweets. Park the toy cars in the garage.
Recipe Tips
Tip: Because of the large quantities involved in this recipe, it might be easier and more practical to break them down into batches. You can make 2 separate batches of gingerbread by halving the quantities. The first batch can be wrapped in cling film and frozen, then defrosted when the second batch is ready. The icing can be made in 3 separate batches and then combined when ready to decorate.

