Redcurrant jelly

The redcurrant season is short, just a few weeks in midsummer, so don’t miss it. Redcurrants are rich in natural pectin and acid, making them a top-rate fruit for making jelly.
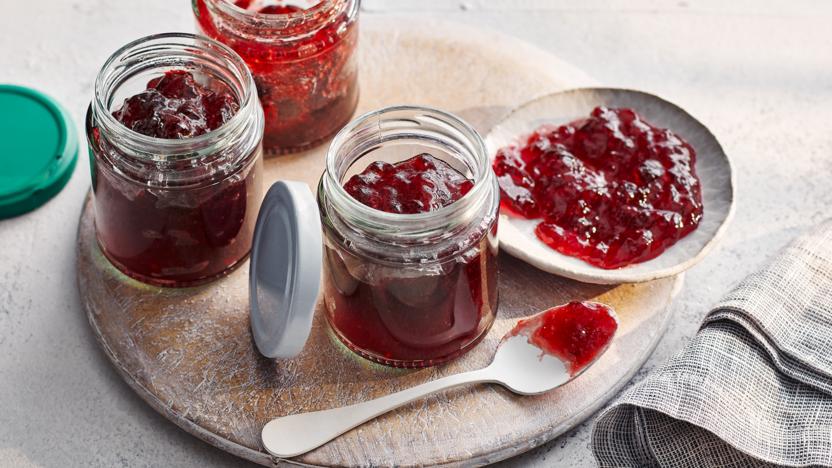
Redcurrant jelly is a traditional accompaniment to roast lamb, as the acidity of the jelly balances the richness of the meat. It’s also excellent with poultry, sausages and oily fish. A spoonful added to caramelised onions or the Sunday gravy works wonders. If you melt a little redcurrant jelly and brush it over a strawberry or raspberry tart, it will make the berries sparkle like rubies.
Ingredients
- 1kg/2lb 4oz redcurrants
- granulated sugar
Method
Lightly pick over the redcurrants, removing any leaves and fibrous stalks— no need to top and tail them or strip them off their stalks. Rinse them and put them in a large heavy-based pan with 500ml/18fl oz water. Cover and bring to a simmer for about 20 minutes until the currants are completely soft. Towards the end of the cooking time, press the currants with a potato masher or jam skimmer to break the skins and release the juice.
Strain through a jelly bag suspended over a large bowl and leave to drip through for several hours or overnight. If you haven’t a jelly bag and stand you can double strain the mixture: first through a sieve set over a bowl, then line the sieve with a piece of fine muslin and pass it through the sieve again.
Place two saucers in the fridge to test for setting point.
Measure the juice, put it into the cleaned pan and bring to simmering point. When the juice is simmering, for every 1 litre/1¾ pints juice, add 650g/1lb 7oz sugar, adding a third at a time. Stir until the sugar has dissolved.
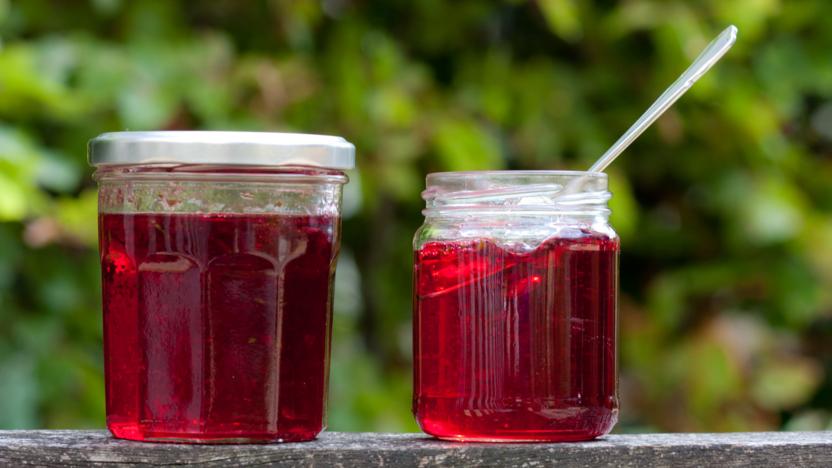
Increase the heat to a fast boil for about 6 minutes until the jelly reaches setting point. You’ll know when the jelly is nearly ready because the loose, light coloured bubbles on the surface will have all but disappeared, the mixture will thicken and the boil will be slower. Remove the pan from the heat — otherwise the jelly will continue to cook – and drop a little of the hot jelly onto a cold saucer. Leave to cool for a few minutes, then lightly push your finger through to see if it forms a light gel that holds its shape and doesn’t just pool away. It should not be at all sticky. If the mixture remains runny, return the pan to the heat for a couple more minutes, then test again.
Remove from the heat and let the mixture rest for several minutes. If a skin forms, carefully remove it using a slotted spoon or jam skimmer.
Tip the mixture into a jug with a good pouring lip and carefully tap the jug on the work surface to knock out any air bubbles. Pour into the warm sterilised jars to fill to the brim and immediately seal with screwtop lids.
Store in a cool, dark, dry place for up to a year. Once opened keep in the fridge and use within 3 months.
Recipe Tips
If you haven’t time to make the jelly straight away, or you grow your own and only have a handful ripe at any one time, then pop them in the freezer until you have time or enough currants to make a panful.
To sterilise the jars and lids, put them through a hot (at least 60C) dishwasher cycle. Do not dry them with a tea towel, leave them to air dry. Alternatively, preheat the oven to 140C/120C Fan/Gas 1. Wash the jars and lids in hot, soapy water and place them upside-down in the oven for 15 minutes.
Old wives’ tales tell you never to squeeze the jelly bag while the juice is dripping through, for fear the jelly will be cloudy. There is an element of truth in this, but it is hard to resist giving it a squeeze to get as much juice as you can. If you must, then do so lightly so you don’t push any of the fruit fibre through. And the world won’t end if your jelly is a little cloudy.


